


spring cloud stream 从小就有一个梦想,统一消息中间件后宫,他身手灵活,有一个非常厉害的爹 spring,会使十八般武器(消息订阅模式啦,消费者组,分区等等),先后征服了东宫娘娘kafka和西宫娘娘rabbitMQ 以及后续的 Kafka Streams、Apache RocketMQ 等嫔妃。
What
什么是 Spring Cloud Stream
官方定义 Spring Cloud Stream 是一个构建消息驱动微服务的框架。应用程序通过 inputs 或者 outputs 来与 Spring Cloud Stream 中binder 交互,通过我们来配置 binding ,而 Spring Cloud Stream 的 binder 负责与消息中间件交互。所以,我们只需要搞清楚如何与 Spring Cloud Stream 交互就可以方便使用消息驱动的方式。
通过使用Spring Integration来连接消息代理中间件以实现消息事件驱动。Spring Cloud Stream 为一些供应商的消息中间件产品提供了个性化的自动化配置实现,引用了发布-订阅、消费组、分区的三个核心概念。
核心构建块:
- 目标绑定器(Destination Binders):负责提供与外部消息传递系统集成的组件。
- 目标绑定(Destination Bindings):外部消息传递系统和应用程序之间的桥接消息的生产者和消费者(由目标绑定器创建)。
- 消息(Message):生产者和使用者使用的规范数据结构与目标绑定器(以及通过外部消息传递系统的其他应用程序)进行通信。
应用模型

- Middleware:一些消息中间件,本文用例使用kafka
- Binder:粘合剂,将Middleware和Stream应用粘合起来,不同Middleware对应不同的Binder实现。
- Channel:通道,应用程序通过一个明确的Binder与外界(中间件)通信。
- ApplicationCore:Stream自己实现的消息机制封装,包括分区、分组、发布订阅的语义,与具体中间件无关,这会让开发人员很容易地以相同的代码使用不同类型的中间件。
Stream能自动发现并使用类路径中的binder,你也可以引入多个binders并选择使用哪一个,甚至可以在运行时根据不同的channels选择不同的binder实现。
已经实现的Binder (不断扩张中)
Why
使用便捷,提升效率,解耦;
在实际开发过程中,流式数据处理架构经常会使用到消息中间件,而以往使用了哪个中间件比如RabbitMQ,那么该中间件和系统的耦合性就会非常高,如果我们要替换为Kafka那么变动会比较大。
Stream可以让开发人员无感知的使用消息中间件,因为Stream对消息中间件的进一步封装,可以做到代码层面对中间件的无感知,甚至于动态的切换中间件(rabbitmq切换为kafka等等),使得微服务开发的高度解耦,服务可以关注更多自己的业务流程。
How
下面演示基于 Spring Cloud Stream + Kafka 的简单 demo
环境&组件版本
- JDK1.8
- Spring boot 2.1.5
- Spring Cloud-Greenwich.SR5 对应 Spring Cloud Stream-Fishtown
整合过程
-
引入pom依赖
<dependencyManagement>
    <dependencies>
	<dependency>
	   <groupId>org.springframework.cloud</groupId>
	   <artifactId>spring-cloud-dependencies</artifactId>
	   <version>Greenwich.SR5</version>
	   <type>pom</type>
	   <scope>import</scope>
	</dependency>
    </dependencies>
</dependencyManagement>
<dependency>
   <groupId>org.springframework.cloud</groupId>
   <artifactId>spring-cloud-stream</artifactId>
   </dependency>
<dependency>
   <groupId>org.springframework.cloud</groupId>
   <artifactId>spring-cloud-starter-stream-kafka</artifactId>
</dependency>
-
配置binder参数
spring:
  cloud:
    stream:
      kafka:  #定义使用 kafka binder
        binder:
          brokers: 10.xx.x.xxx:9092,10.xx.x.xxx:9092,10.xx.x.xxx:9092        #Kafka服务器
          autoCreateTopics: true  #是否自动创建Topic 默认值即为 true
          autoAddPartitions: true  #是否自动创建分区  默认值为 false 建议配置true
          minPartitionCount: 1  #最小分区数量  默认值即为 1
这种配置有些讨巧,这个是kafka binder提供的Binder-Specific Configuration,这种方式让配置更看上去更直观,如果你的应用中只需要一个kafka binder,这样配置当然没问题,但上文提到过一个应用中是可以配置多个binder的,所以如果按照Stream的配置语义,应该如下配置:
spring:
  cloud:
    stream:
        bindings:
          <channelName>:
            binder: <binderName>
        binder:
          <binderName>:
            type: kafka
            environment:
              spring:
                cloud:
                  stream:
                    kafka:
                      binder:
                        brokers: 10.xx.x.xxx:9092,10.xx.x.xxx:9092,10.xx.x.xxx:9092  #Kafka服务器
                        autoCreateTopics: true  #是否自动创建Topic 默认值即为 true
                        autoAddPartitions: true  #是否自动创建分区  默认值为 false 建议配置true
                        minPartitionCount: 1  #最小分区数量  默认值即为 1
先为channel对应的binder设置一个binderName,再根据这个binderName设置binder的type和environment。如果我们的应用要连接多个kafka服务,那我们必须用上面的配置方案,通过
来完成不同kafka服务的识别与隔离。
-
定义通道
使用@Input和@Output注解在接口中定义。注解默认通道名字为方法名 ,当然也可以自定义channel名字例如@Input("input_test"),下面的例子就完成了通道的定义,Stream在运行时会自动生成这个接口的实现类。
public interface TestChannel {

    @Input("input_test")
    MessageChannel inputTest();

    @Output("output_test")
    MessageChannel outputTest();
}
-
配置通道绑定参数
spring:
  cloud:
    stream:
      bindings:
        input_test:   #输入通道绑定 <channelName> 通道名称
          destination: stream-test   # topic
          group: test1    # 消费组名
        output_test:    #输出通道绑定 <channelName> 通道名称
          destination: stream-test   # topic
          producer:
            partitionCount: 1    # 分区数量
-
通过@EnableBinding触发绑定
生产者端,定时每隔5秒向
output_test通道发送一条当前时间的message
@Configuration   //用于开启定时任务,与stream配置无关
@EnableScheduling    //用于开启定时任务,与stream配置无关

@EnableBinding(TestChannel.class)
public class SendService {

    private static SimpleDateFormat sdf = new SimpleDateFormat("yyyy-MM-dd HH:mm:ss");

    @Autowired
    private TestChannel testChannel;

    @Scheduled(fixedRate = 5000)
    void sendMsg() {

        testChannel.outputTest().send(MessageBuilder.withPayload(sdf.format(new Date())).build());

    }
}
-
消费者通过@StreamListener监听
消费者端监听同一个topic,并将接收到的消息打印在控制台上
@EnableBinding(TestChannel.class)
public class ReceiveService {

    @StreamListener("input_test")
    void messageReceive(Message msg) {

        System.out.println(msg.getPayload());

    }
}
-
启动项目查看执行结果
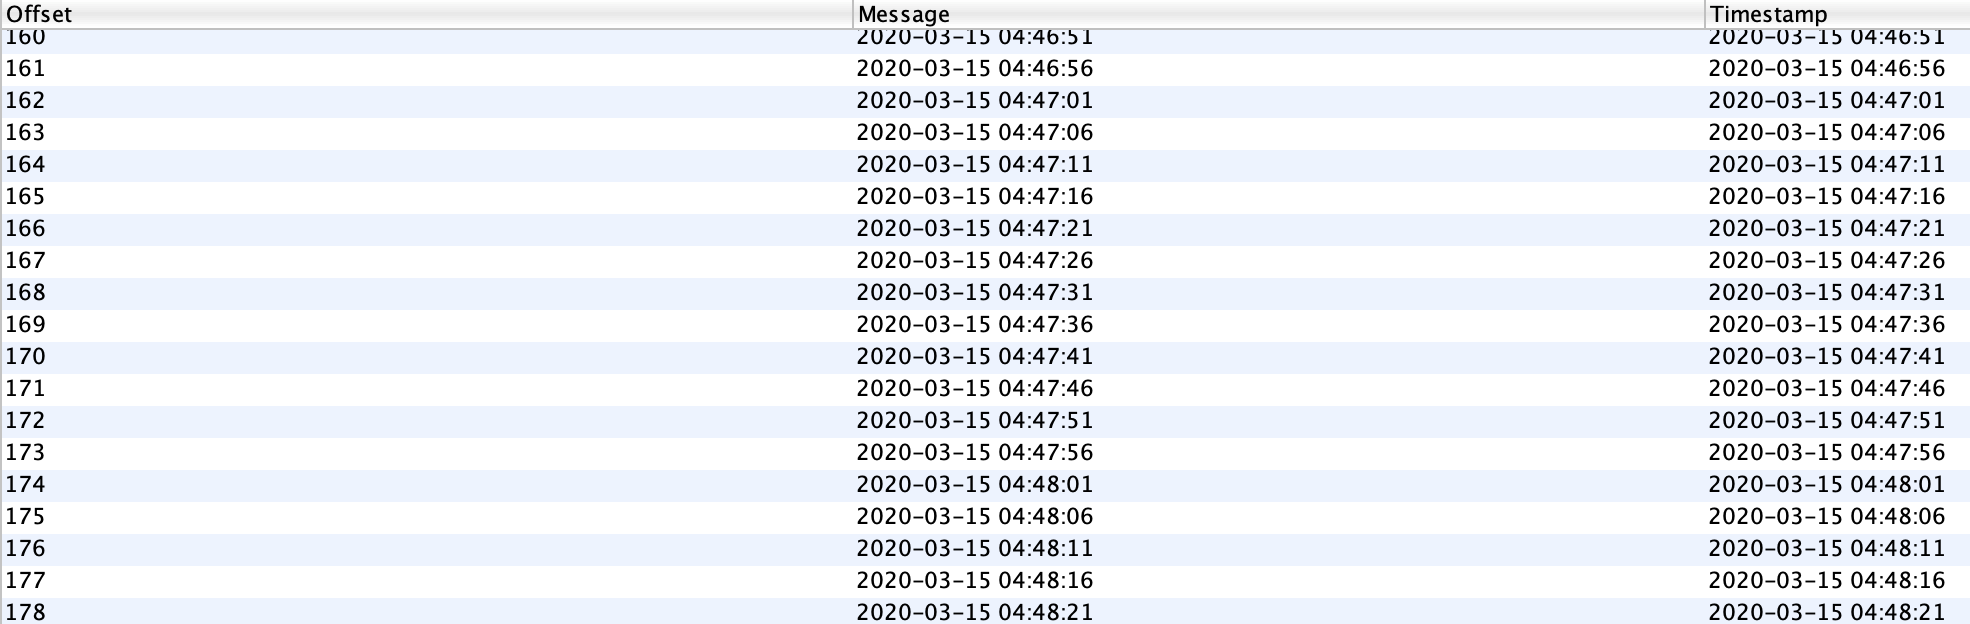
Topic中数据情况:
项目控制台打印信息:
_1584218966801.png)
-
至此一个简单的demo就完成了
-
更多详细配置可以参考官方文档:spring-cloud-stream
感谢阅读


评论区